|
 |
Magnetic measuring system (iMS)
The Magnetic measuring system has a decisive advantage compared with significantly more expensive optical systems
General
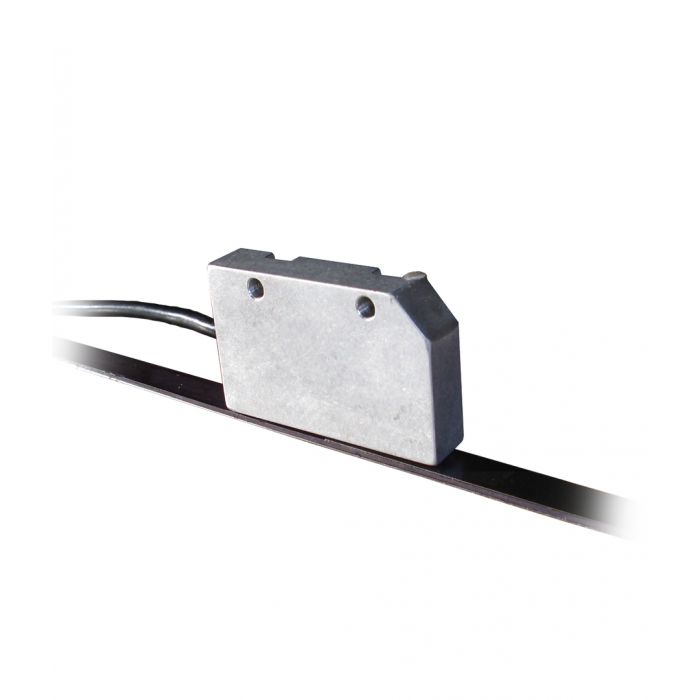
The iMS contactless magnetic measuring system relies on scanning a magnetically coded measuring tape by means of a magnetically sensitive sensor and is suitable for detection of both linear and radial positions. A decisive advantage compared with significantly more expensive optical systems is provided by its insensitivity to contamination caused by liquids, greases and dust. Our length measuring system is therefore a cost-effective alternative to other systems on the market.
Available sensor interfaces for further processing in the peripherals are, optionally, a pulse sensor with incremental RS422 AB output (Z optional) and a SIN/COS/(Z optional) sensor with voltage amplitude 1Vss.
Features
- Measuring head with sensor in stable casing
- Reliable, robust, good value
- 2 channels, A and B, difference mode incremental RS 422 or difference mode analogue 1VSS
- Incremental/digital resolution (see table)
- Repeatability = ±1 increment
- Magnetic tape on self-adhesive, stainless steel bearer tape
Optional
- Reference pulse
Subject to technical modifications without prior notice.
Sensor
| Mechanical specification | |
| Casing | Aluminium |
| Weight | approx. 70g |
| Sensor lead | PUR |
| Cable bending radius | Bending radius of cable >40 mm |
| Electronic data | |
| Supply voltage | 4.9V - 5.1V (optional: 7V - 15V) |
| Current drain | < 100 mA on no load |
| Output signals | Standard RS422 A, /A, B, /B optional reference Z, /Z Option: SIN/ COS 1Vss +20%, -40%, Z und /Z right sign |
| Termination | Terminating resistor = 120 Ohm between corresponding output signals, e.g. A - /A, at receiver |
| Sensor distance - magnetic tape | 0.4 - 0.7 mm |
| Sensor resolution incremental |
1 μm, 2.5 μm, 5 μm, 10 μm, 20 μm |
| Pulse interval | 0.25 μs, 0.55 ns, 1 μs, 2 μs, 4 μs, 8 μs |
| maximum speed | μs maximum speed < 10 m/s, higher on request |
| Repeat accuracy | Incremental resolution ± 1 increment, plus errors due to angular tilting in the 3 sensor axes |
| Accuracy | Measurement error 20 μm, plus errors due to angular tilting in the 3 sensor axes |
| Reference sequence | optional: NSN (special order) |
| Ambient conditions | |
| Operating temperature | -5˚C to 80˚C |
| Storage temperature | -20˚C to 100˚C |
| Air humidity (only sensor) | 100%, dewing allowed |
Normal measurement - magnetic tape
| Operating temperature | -5°C to 80°C |
| Material | High quality stainless steel, coding bearer elastomer, self-adhesive |
| Thickness | 1.3 mm ± 0.15 mm + bonding layer 0.13 mm, optional: 0.1 mm stainless steel tape + 0.2 mm bonding layer |
| Width | 10 mm |
| Length | up to 50m on roll |
| Pole pitch/PITCH | 2 mm, i.e. north pole = 2 mm, south pole = 2 mm magnetic period = 4 mm |
| Number of tracks | Single track, 10 mm wide Option: signal track 5 mm, reference track periodically 5 mm |
| Accuracy | ± 0.04mm/m, at 20°C |
| Coefficient of expansion | 17E-6 m/Kelvin |
| Ambient conditions | |
| with no or minimum effect on the measurement norm | Chemical resistance to contamination with motor oil, gearbox oil, ATF, hydraulic oil, kerosene, antifreeze, Clorox disinfectant, turpentine, water, brine. The materials listed have no or little effect on the long term stability of the measurement standard; this depends, among other things, on the concentration, the temperature and the time of the contamination. Please check your own case. |
| little/average effect on the measurement standard | Jet petrol, carburettor fuels, heptanes, alcohols |
| strong effect on the measurement standard | Aromatic hydrocarbons, ketones, inorganic acids |
|
Simply register and log in, search and find the component you need and download the data. Click here to download from the TraceParts server The download is free of charge. |


